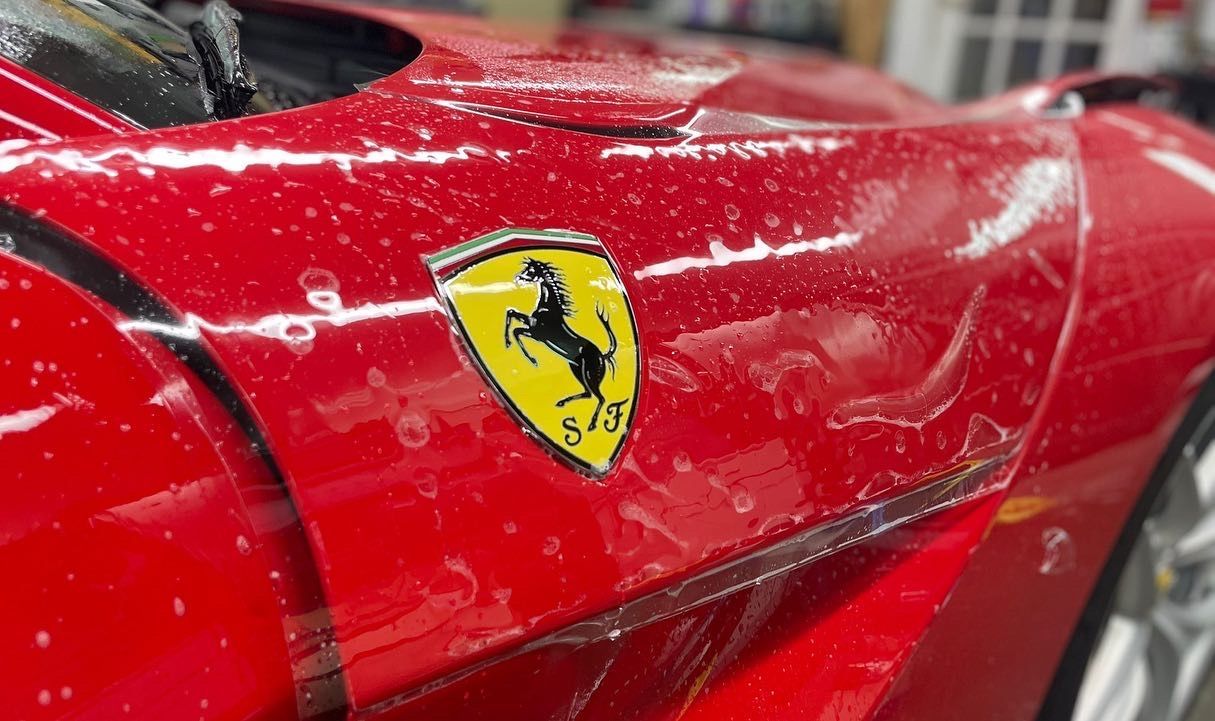
Paint protection film serves as a durable shield for your vehicle, protecting the paint from scratches, UV exposure, and everyday road hazards. Beyond maintaining a polished appearance, PPF helps preserve the value of your investment. Whether you're a car enthusiast or simply want to keep your vehicle in excellent condition, knowing how to properly install and care for PPF is key to maximizing its benefits.
Installing paint protection film involves understanding key components such as material properties, application areas, and necessary tools. It is crucial to follow a systematic installation process that includes surface preparation, precise measurement and cutting, careful film positioning, and using tools like a squeegee for bubble-free application to ensure optimal adhesion and a professional finish.
Choosing the Right PPF
In today's market, there’s a wide array of PPF options available, each designed to cater to different aesthetic preferences and protection needs. From glossy finishes that enhance the existing shine of your car's paint to matte versions that offer a stealthy look, you get to define how your vehicle appears. If you're looking for something more distinctive, manufacturers even produce colored films. Your choice depends on your personal style as well as the level of protection you require.
- Material Composition: At the core of every effective PPF is its material composition, primarily thermoplastic urethane. This specialized material is renowned for its flexibility and resistance to abrasions, making it a popular choice among manufacturers. The unique characteristics of thermoplastic urethane allow it not only to withstand minor scratches and impacts but also to defend against damaging UV light.
- Self-Healing Properties: One remarkable advancement in PPF technology is self-healing properties. This feature allows minor scratches and swirls that occur over time—those pesky little marks from everyday use—to mend themselves when exposed to heat or sunlight. Imagine parking your car under the sun on a warm day; if there are any fine scratches from branches or bugs, they could simply vanish with the heat!
Understanding your driving habits, aesthetic preferences, and long-term vehicle care goals is crucial in selecting the right PPF. By choosing a film that aligns with both your style and protection needs, you’re investing in more than just appearance—you’re securing peace of mind.
DIY vs. Professional Installation
Deciding whether to go the do-it-yourself route or hire professionals for paint protection film installation often boils down to a mix of personal preference, project cost, and the quality you hope to achieve. If you're comfortable with tools and enjoy hands-on projects, a DIY approach might be exciting and fulfilling. However, if you prefer a flawless finish without the hassle, professional installation may be worth the investment.
Cost Comparison
When considering costs, professional installation typically ranges from $500 to $2,500. This price varies based on factors like the size of your vehicle and the extent of coverage needed. For instance, larger vehicles or those needing full coverage will incur higher costs due to increased time and materials required. On the other hand, DIY kits can cost anywhere from $100 to $500, which seems appealing at first glance. However, keep in mind that this initial savings may come with hidden expenses such as tools you might need to buy or even repeat purchases due to application errors. When choosing a PPF kit for DIY, pay close attention to reviews and brand reputation; cheap kits can sometimes lead to disappointing results that don't justify their lower price points. Remember that although you save money upfront, a poorly applied film could end up costing you more in repairs or necessitating professional reapplication.
Pros and Cons
Professional installation ensures a flawless application by an experienced installer who is well-versed in the industry. Many reputable shops also offer warranty service, which can be advantageous if something goes wrong post-installation. However, this peace of mind comes at a cost; some consumers find the prices prohibitive compared to their budgets. Conversely, DIY installation presents substantial cost savings—an attractive prospect for many car enthusiasts keen on preserving their vehicle's aesthetics while saving some cash. However, it does require a significant time commitment and a keen eye for detail. You’ve got to prep thoroughly, maintain patience throughout the process, and have enough dexterity, as errors like bubbles or wrinkles can mar the appearance.
Your decision should reflect not just your financial constraints but also how confident you feel about your ability to apply PPF properly. If you decide to DIY the installation, make sure to familiarize yourself with the techniques and perhaps watch a few tutorial videos beforehand—it can make a significant impact! Regardless of your choice between DIY or professional services, proper surface preparation is vital for ensuring optimal adhesion of the film.
Preparing Your Vehicle Surface
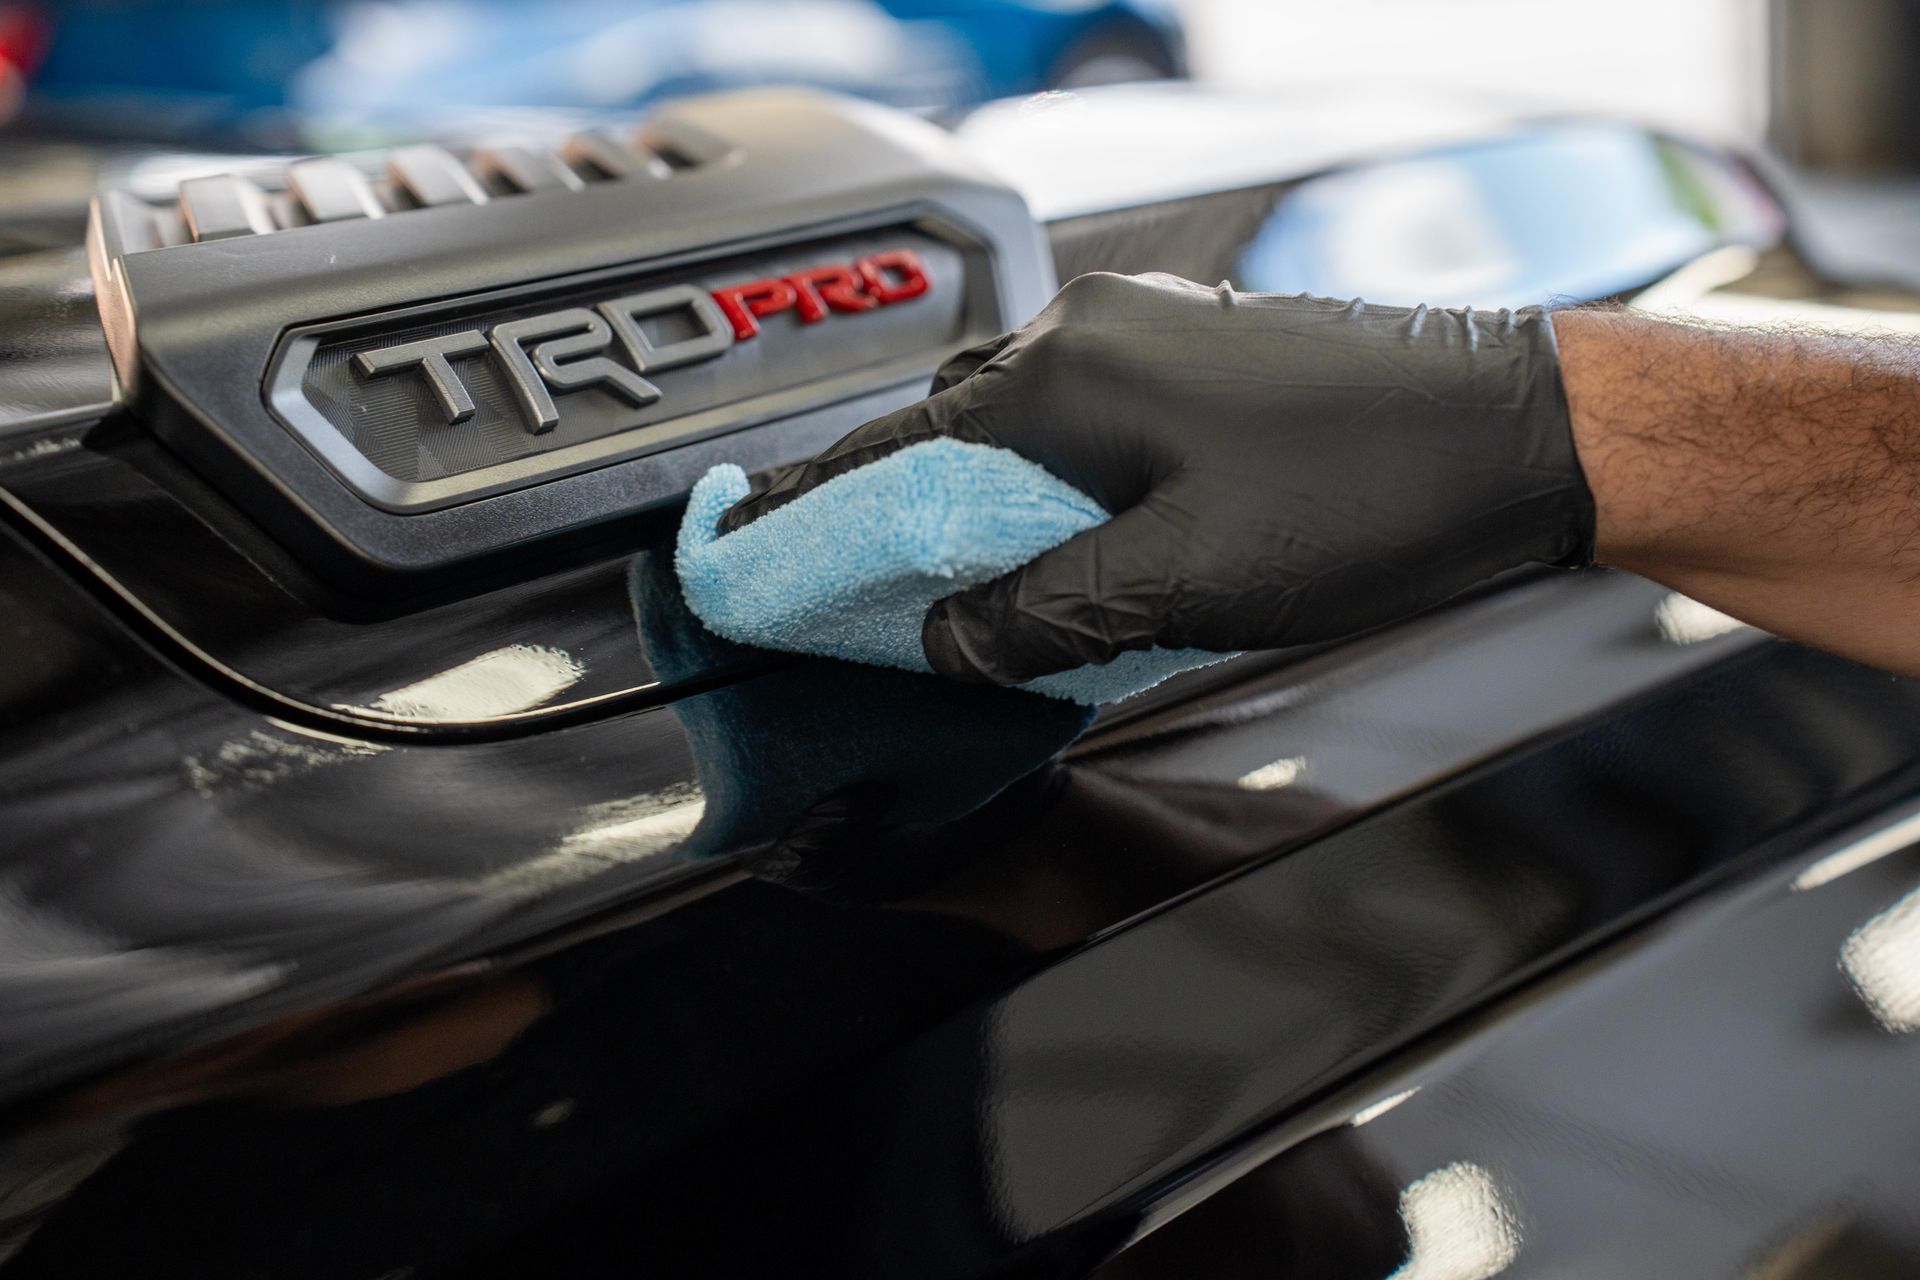
The journey to a pristine PPF application begins with making sure your vehicle's surface is clean, smooth, and ready to receive its new protective layer. The first task involves a thorough cleaning. Use a good-quality pH-neutral car shampoo combined with warm water to lift any surface dirt and grime built up over time. Pay attention to details—you’re not just aiming for a quick rinse; you want your vehicle to be immaculate. After washing, rinse thoroughly with clean water—using two buckets: one for the soapy water and the other for rinsing your mitt or cloth. A drying towel made of microfiber will help prevent water spots from forming, keeping your surface ready for PPF application. Once your vehicle shines without a speck of dirt or grime, it's time to move on to the next crucial step—decontaminating the paint surface.
Cleaning and Degreasing
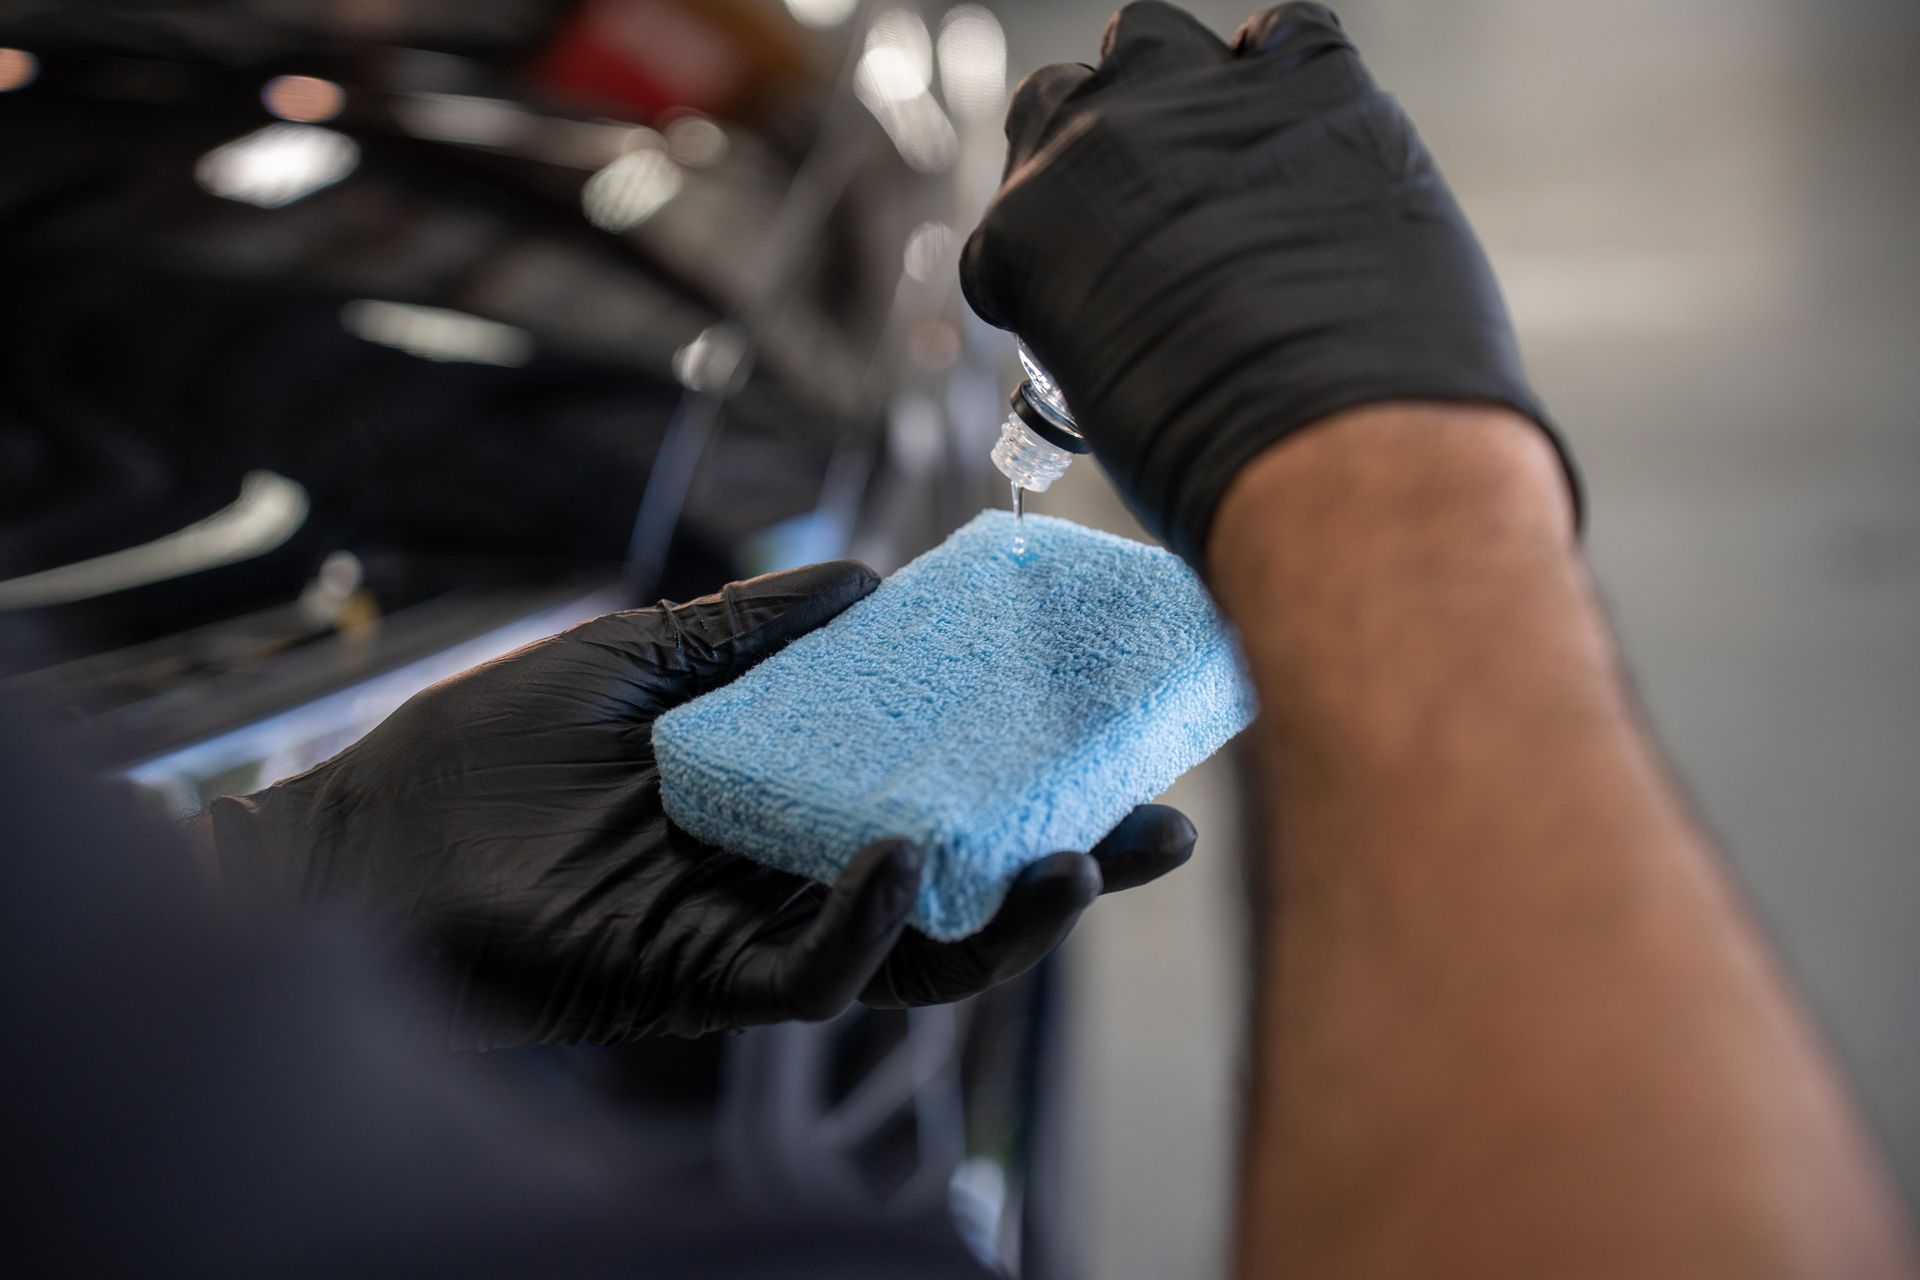
After washing, focus on removing any stubborn contaminants such as tree sap, tar, or industrial fallout lingering on the paint. Use a clay bar or a dedicated decontamination spray along with lubricant to assist the clay bar in moving smoothly across the surface. Clay bars pull out particles embedded within the automotive finish—a gentle glide reveals just how much grime can be hiding beneath the shine. Working in small sections prevents the lubricant from drying out while allowing you to maintain full control over the process. Use isopropyl alcohol mixed with water in equal parts for degreasing. This mixture effectively wipes away oils and residues that could interfere with adhesive properties.
Inspecting for Imperfections
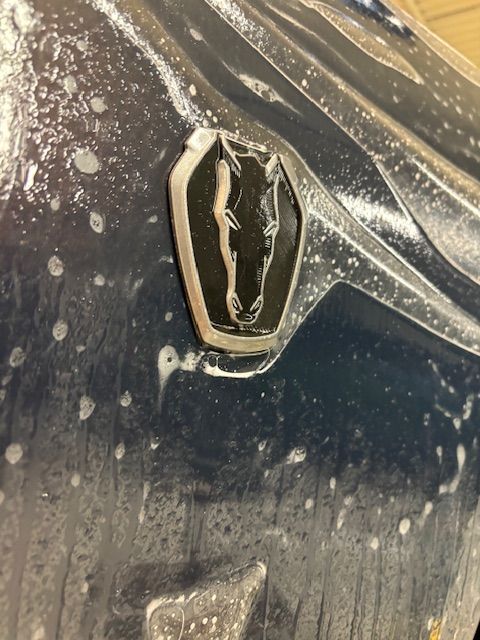
Examine your vehicle closely for any existing paint chips, scratches, or swirls before applying the film. This step is critical because applying PPF over these imperfections could trap air bubbles beneath the film, ultimately reducing its protective effects. Minor damages may seem insignificant now but can multiply after installation—transforming small defects into larger headaches. If you find any flaws, use touch-up paint suitable for your vehicle's color to effectively repair those areas. Allow adequate time for any touch-up work to fully cure before proceeding; patience here pays off significantly in terms of final appearance and durability.
After ensuring that your vehicle's surface is properly cleaned and inspected, you're primed for an efficient application of that protective film.
Applying the Paint Protection Film
The application of paint protection film is as important as selecting the right product. A precise and methodical installation is essential to ensure maximum effectiveness, durability, and visual appeal. When carried out by trained professionals, the process combines technical skill and attention to detail, resulting in a seamless protective layer that enhances the vehicle’s finish.
Step-by-Step Guide
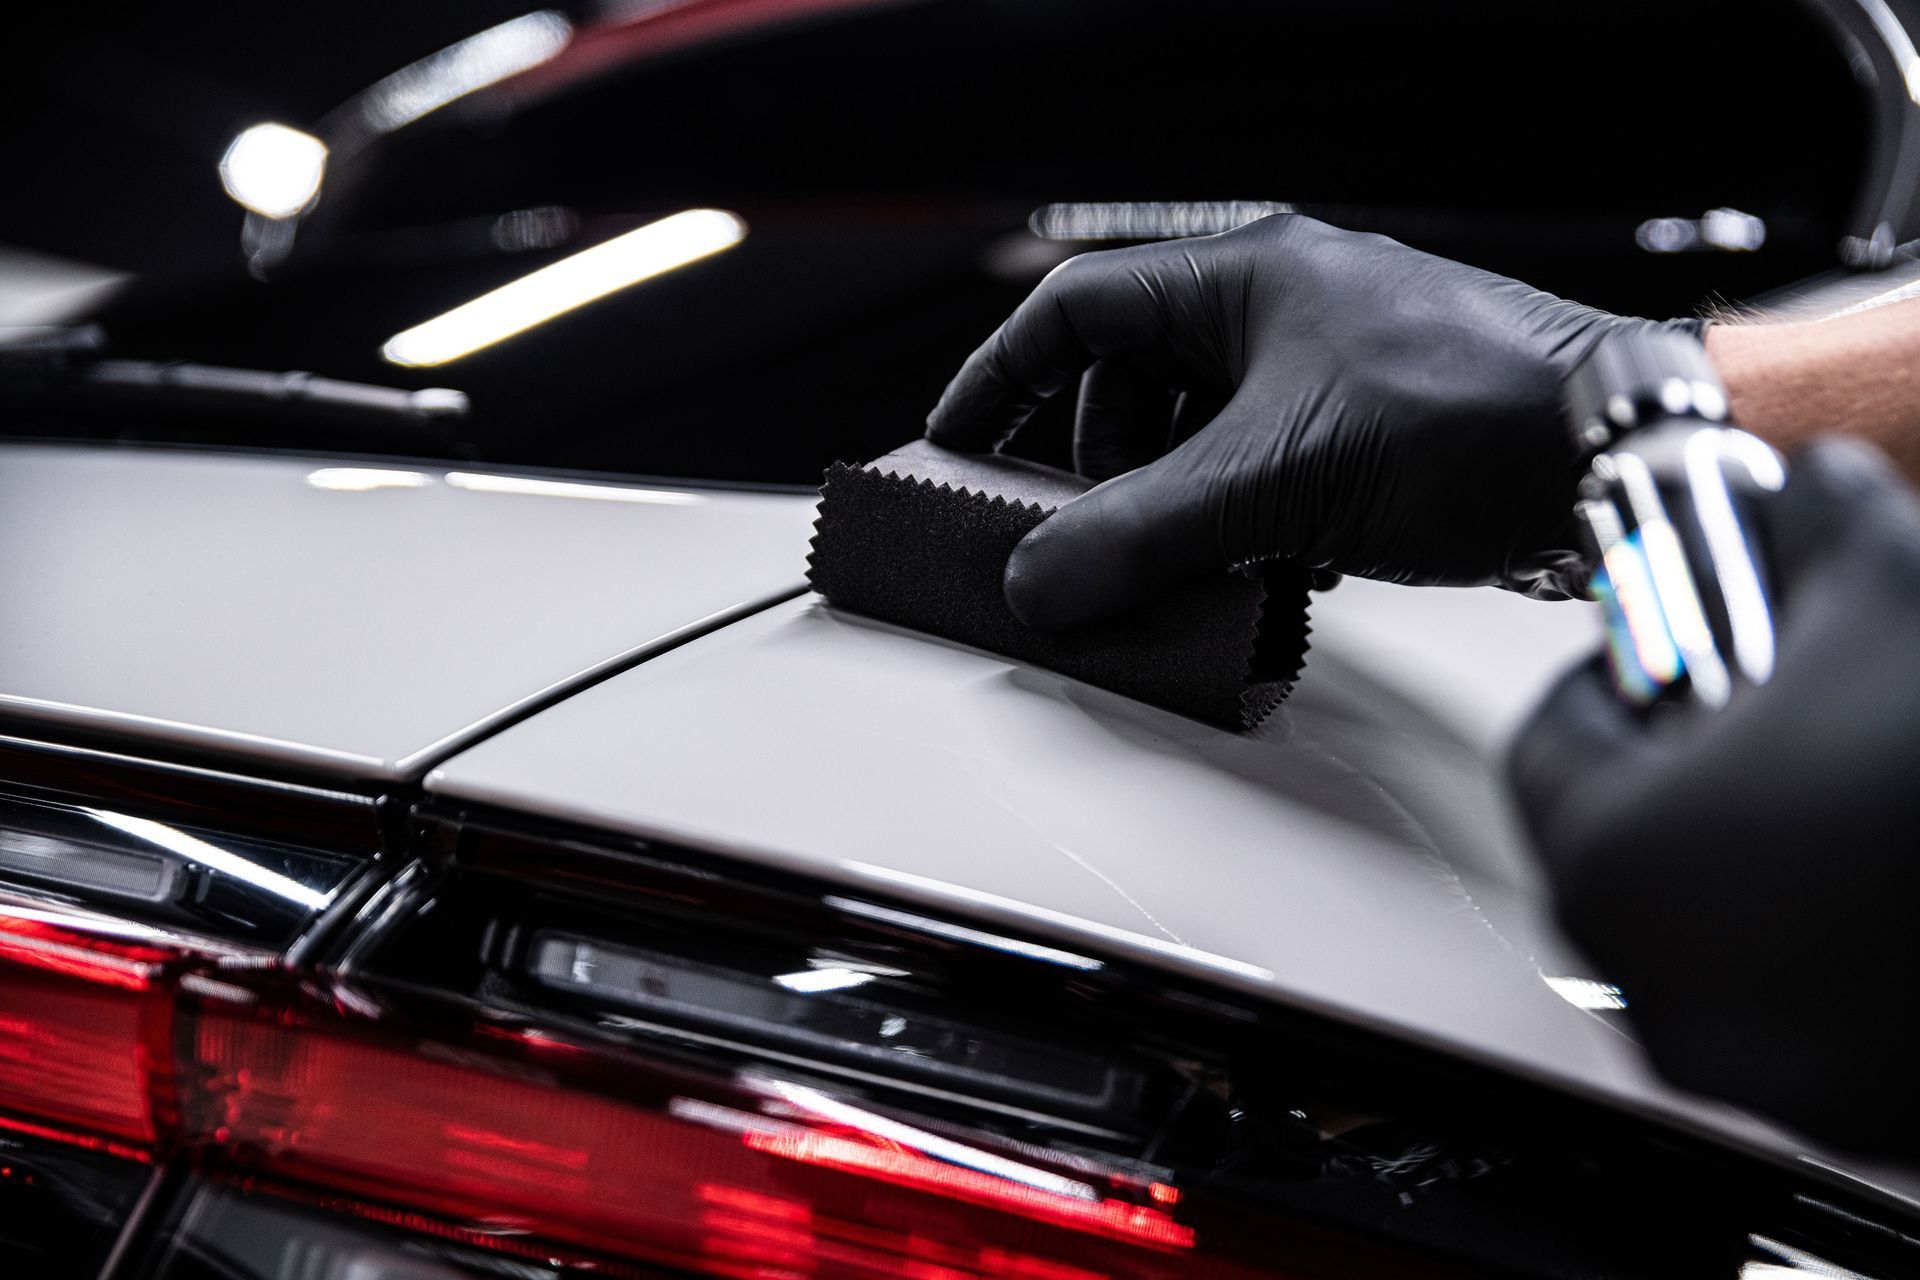
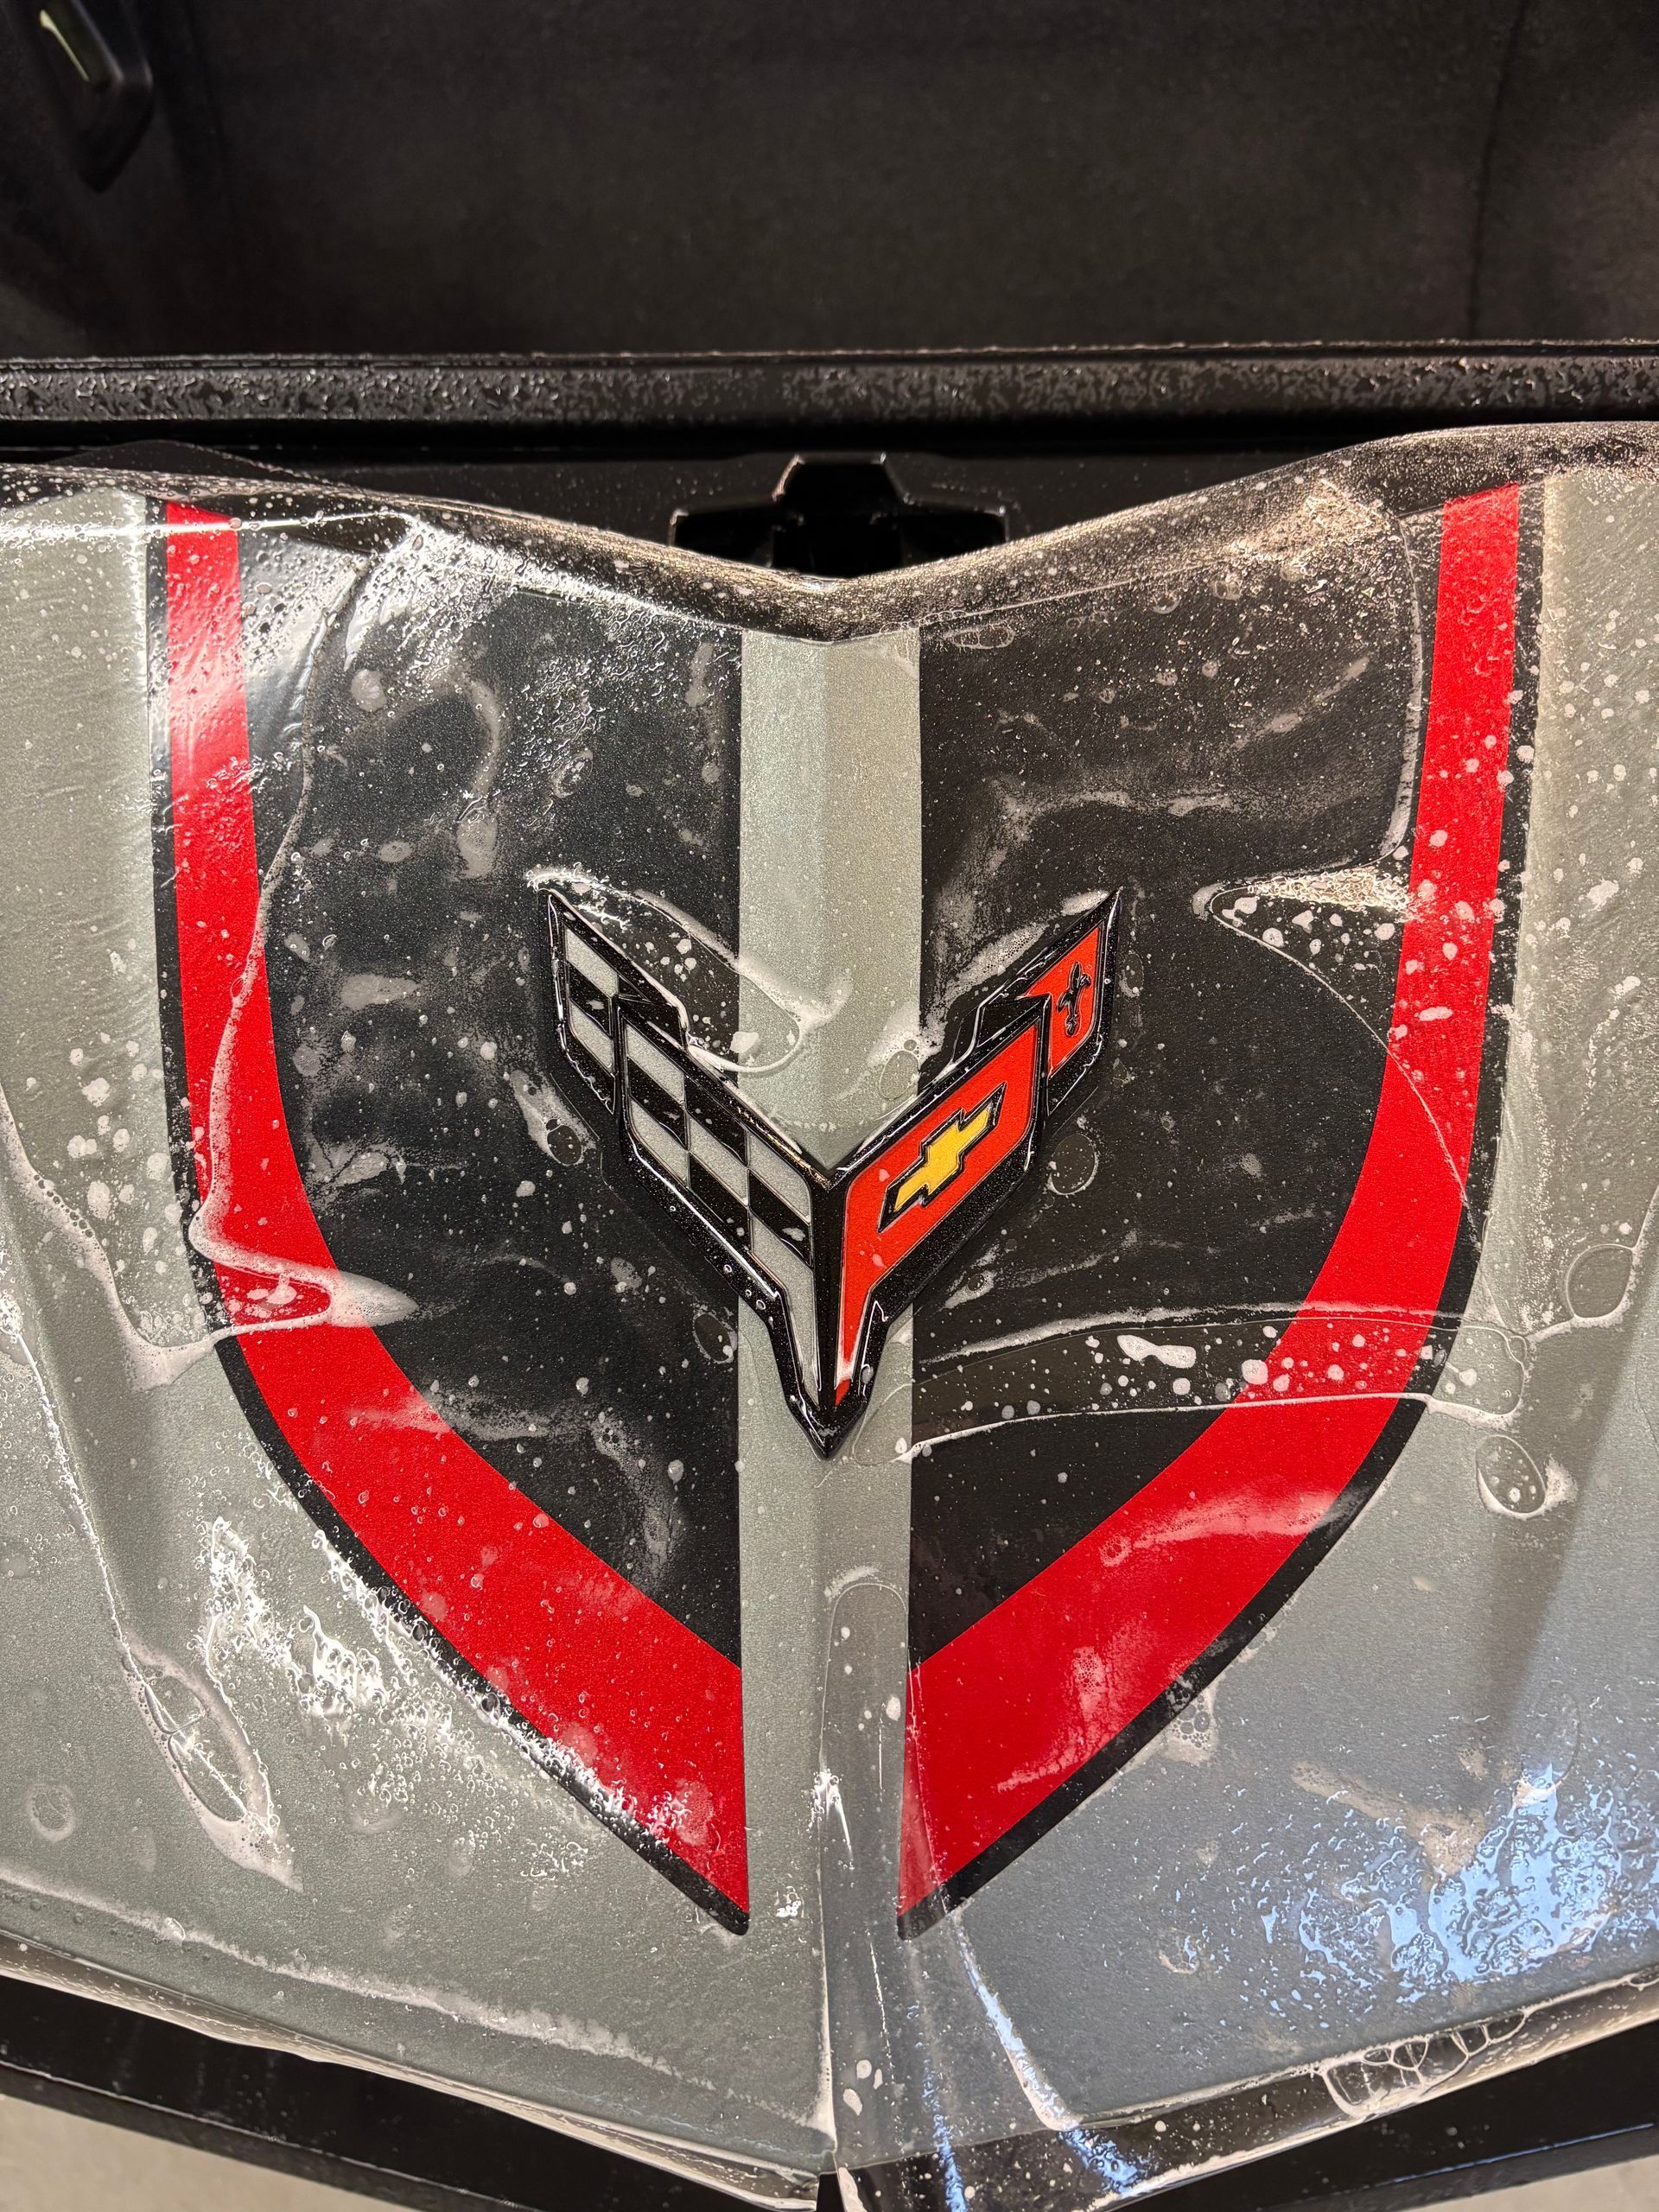
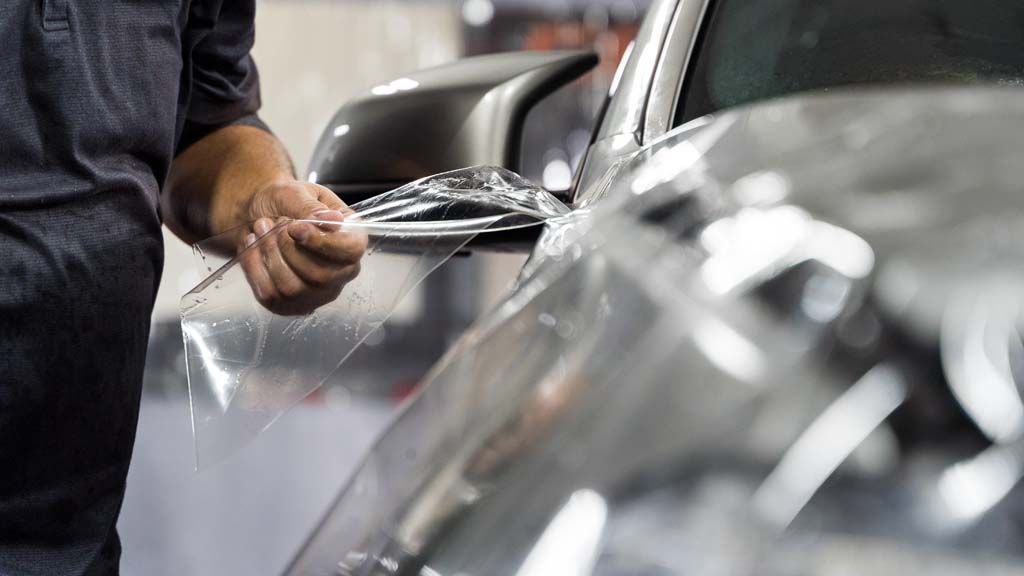
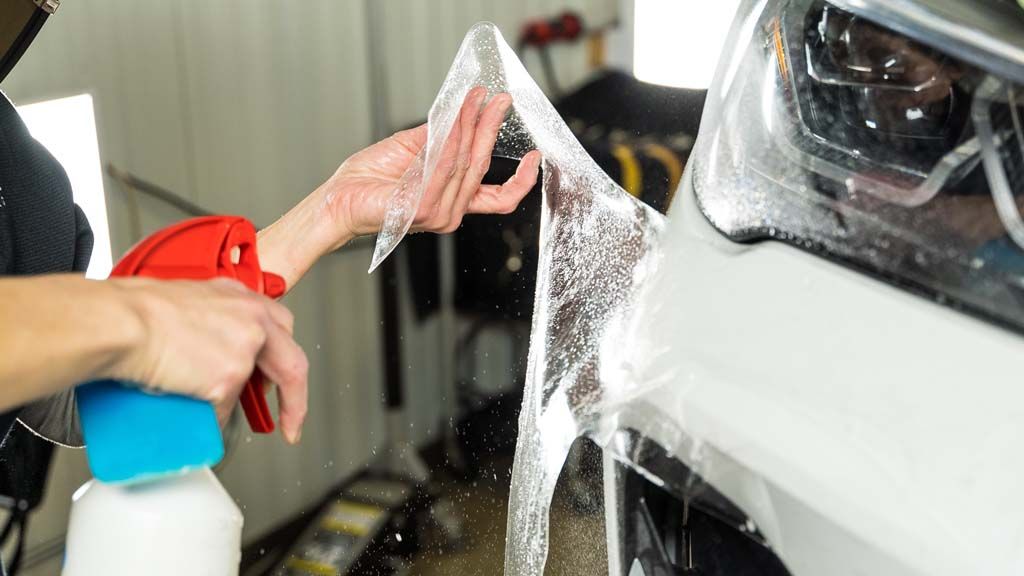
- Positioning the Film: The process begins by spraying a specialized slip solution—a mix of water and surfactant—onto both the vehicle surface and the adhesive side of the film. This allows the installer to maneuver and align the film accurately without it adhering prematurely. Proper positioning is critical; the film must lay flat and uniform across the surface to prevent creases and ensure optimal coverage.
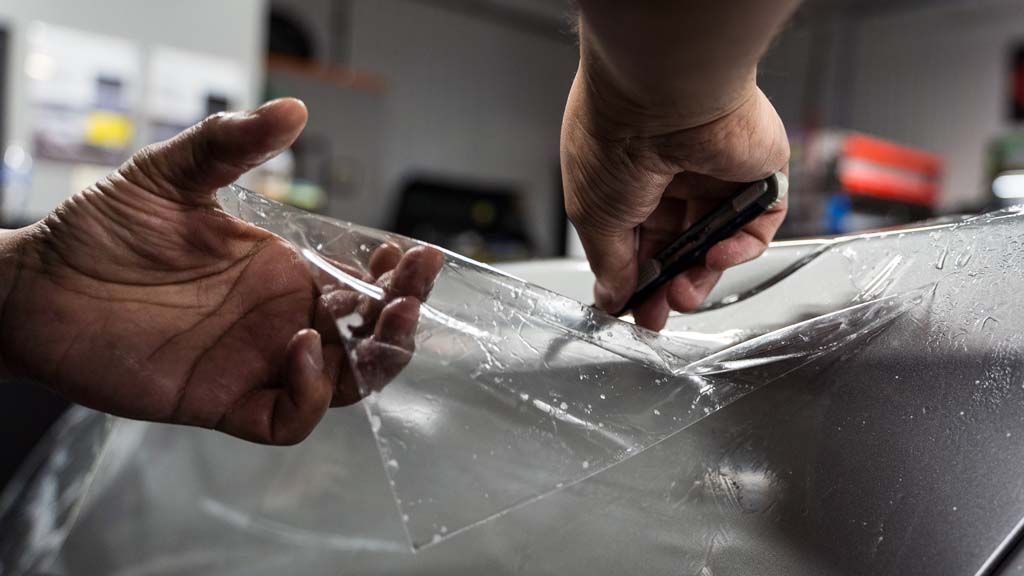
- Securing the Film: Once correctly positioned, the technician uses a squeegee to secure the film. Starting from the center and working outward, this step removes trapped air and liquid beneath the surface. Precision and patience are key, as even the smallest bubbles can affect the appearance and longevity of the film. Any stubborn air pockets are carefully addressed using professional tools to achieve a flawless finish.
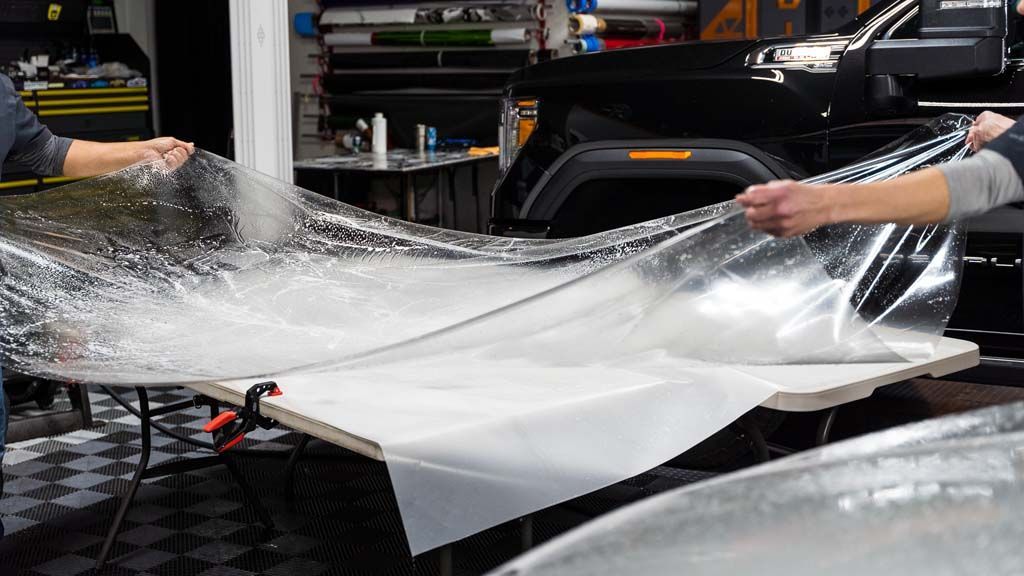
- Stretching Over Curves: For complex surfaces such as fenders, bumpers, or mirror caps, the film is gently heated to increase pliability. This allows it to conform to the vehicle’s unique curves and edges without overstretching. Using a controlled heat source, technicians stretch and mold the material precisely, ensuring a tight fit that maintains both protection and aesthetics.
Entrusting PPF installation to experienced professionals ensures not only proper adhesion and alignment but also preserves the integrity of your vehicle’s finish. Each step is executed with care to deliver a high-performance barrier that’s as visually flawless as it is protective.
Key Considerations
Your final product is shaped by your preparation. Maintain optimal working conditions by choosing a shaded area, as direct sunlight can lead to heat buildup and complicate handling. Ensure that all necessary tools, such as squeegees, utility knives, and microfiber cloths, are readily available to prevent any loss of momentum during the installation process. Remember: Take breaks if you find yourself becoming frustrated; patience is critical in achieving that pristine, bubble-free finish.
Common Troubleshooting
Even seasoned DIYers encounter issues during application; it's part of the learning curve. If you notice bubbling after applying, do not panic! Simply use a pin to puncture small bubbles and then re-secure them with your squeegee. Additionally, if alignment becomes slightly off after application, use heat again carefully—it can help adjust and conform the film back into position. The insights shared here will pave the way for exploring the necessary tools in this installation journey.
Maintaining and Caring for PPF
Proper maintenance of paint protection film is essential to ensure its longevity and effectiveness. Though the process may initially appear complex, it is both manageable and rewarding when approached correctly. The cornerstone of effective PPF care lies in regular cleaning. Accumulated dirt, road grime, and environmental contaminants can dull the film’s finish if not routinely removed. Using a gentle, pH-balanced automotive shampoo is recommended to cleanse the surface without compromising the film's protective qualities. Soft microfiber cloths or mitts are ideal for washing and drying, as they minimize the risk of scratching and help preserve the film's smooth, glossy appearance.
Avoiding harsh chemicals is equally important. While some cleaning agents may promise rapid results, many contain abrasive or petroleum-based compounds that can erode the film over time. Substances such as bleach, solvent-based degreasers, and ammonia-laden products should be strictly avoided. Instead, a simple solution of warm water and car-safe soap is often sufficient for maintaining cleanliness without compromising film integrity. For added protection, specialized PPF-safe detailing sprays can be used to enhance water repellency and add a subtle sheen without affecting performance.
In addition to routine cleaning, periodic inspections play a key role in maintaining optimal performance. Taking time to examine the film for any early signs of wear—such as lifting edges, bubbling, or light surface abrasions—can help address minor issues before they escalate. Detecting and resolving these concerns promptly not only extends the life of the film but also ensures the underlying paint remains well-protected. For best results, it's advisable to schedule occasional maintenance appointments with certified PPF installers who can provide professional assessments and touch-ups as needed.
By following these simple yet effective maintenance steps, you’ll maximize the lifespan of your PPF while keeping your vehicle looking impeccable, which is undoubtedly worth every effort. In summary, attentive care along with regular inspections creates favorable conditions for your Paint Protection Film, ensuring it remains both functional and visually appealing for years to come.
Premier Paint Protection Film Service in Burlington, ON
Your vehicle deserves more than standard protection—give it the expert care it needs with Armored Inc.’s
premier paint protection film services in Burlington, ON. With advanced materials, professional installation, and a commitment to preserving every curve and contour, Armored Inc. ensures your car stays shielded from chips, scratches, and the elements.
Schedule your appointment today and experience the confidence that comes from true automotive protection!